Some of my readers have asked me about our experience making concrete countertops. We put the last coat on this Saturday and the counters are in the one-week curing stage, so we haven’t used them yet. I can’t report on the end product yet, but I can tell you about the process.
If you’re thinking of doing concrete countertops, I’ve made a list of pros and cons at the end of this article for you to consider based on our experience. We didn’t do a traditional poured concrete counter. We did a hybrid concrete system which involves many layers. The resulting product is very thin- layers the thickness of paper troweled on one after the other.
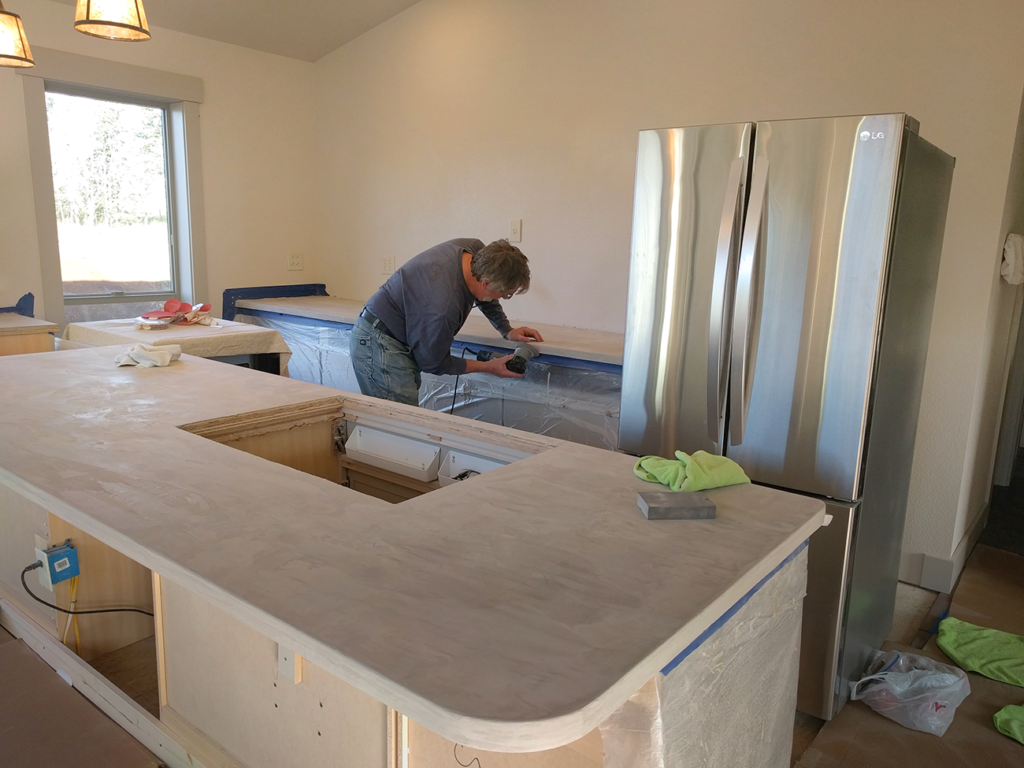
Day One- The first layer is a primer base coat that is gritty with sand. It must be troweled on thinly and evenly, allowed to dry overnight and then sanded. The dust is nasty. It gets everywhere. I didn’t deal with the mess very well.
Day Two- Sand primer base coat. Clean up dust very carefully. Wipe with a tack cloth. Measure and stir together the ingredients of the cement itself. The liquid activator and the colorant are mixed together first, then that is combined with the dry cement powder and stirred, preferably with a drill fitted with a paddle attachment. Getting the color right is tricky. Although I measured the dye, I didn’t get the color I was going for. Getting the consistency just right is tricky. It gets thicker the longer it’s exposed to air. If you have a lot of countertop area, it’ll get thick before you’re finished. You can add activator liquid, but it’s a guessing game to know how much to add to get the consistency right. It isn’t a science, it’s an art. With something as permanent and important as a countertop, these variables are frustrating and risky.
Day Three- Sand the first cement layer. Clean up the dust meticulously in preparation for troweling on another layer. Mix another batch and trowel on.
 Day Four- Sand the second cement layer and clean up the dust. Mixed the third layer as directed, but it was too runny. So we used leftover solution we had saved in the refrigerator with a little more liquid activator. It didn’t behave the same as it had when newly mixed. The troweling was difficult, even the color had changed.
Day Five- Sand the third layer and clean the dust meticulously. Apply sealer with a paint pad. Very strong smelling. It made us both sick.

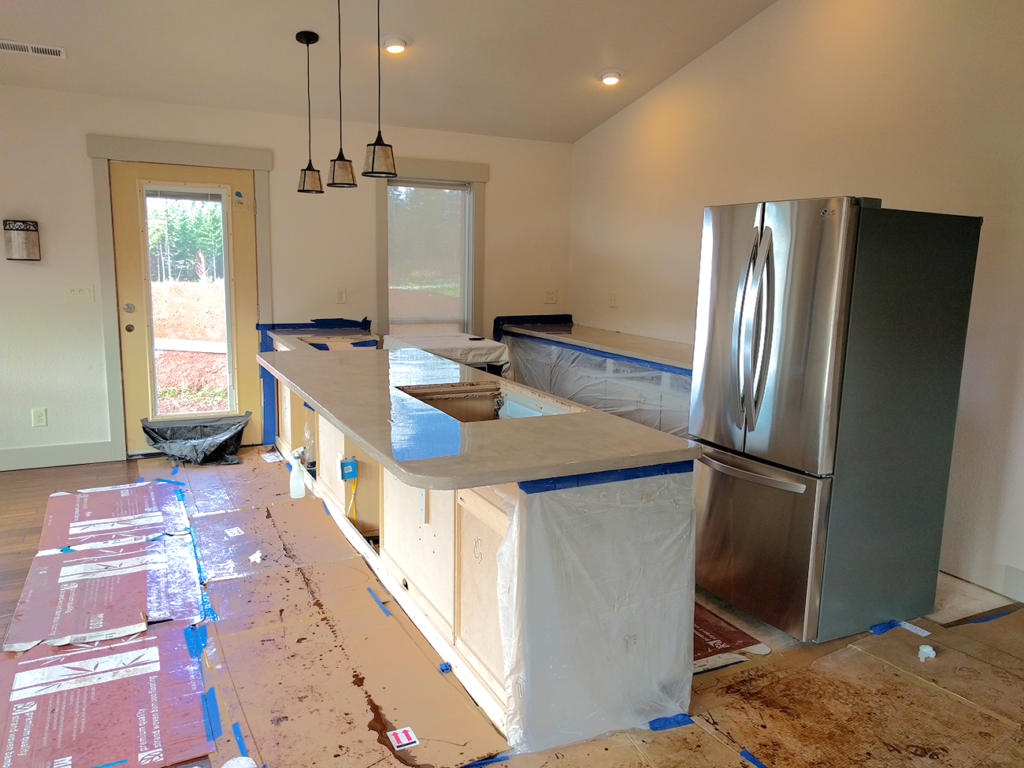
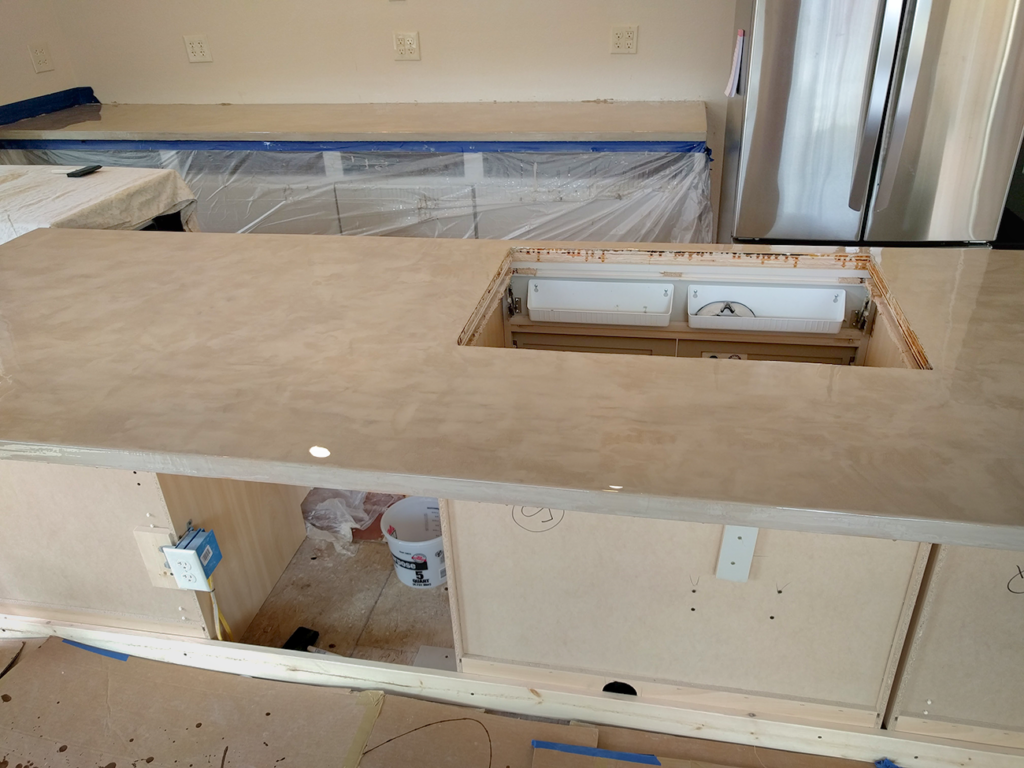
Day Six- Mix two-part epoxy. Each batch needs two containers which must be discarded after use. Very strong smell. It got thick before we could finish. We mixed a new batch, but the sticky first batch we had put down couldn’t be redeemed. Putting the new viscose batch over the sticky stuff helped, but it caused waves on the surface that we couldn’t level. Then a propane torch was passed over the surface to release air bubbles in the epoxy and to help flow and level. This was a long process and we were concerned we might scorch the epoxy. In the end, the glossy surface shows every ripple. I cringe when I look at my counters in strong light. We plan to learn how to hone the surface of the epoxy to take down the gloss hoping the duller surface may show fewer imperfections.
Cons
You can’t use your kitchen for two weeks. One week, possibly less, you’ll be troweling on layers of concrete and painting on sealer and epoxy. (If you do a hybrid concrete system that doesn’t involve a one pour traditional concrete. This is the system we used.)
The sanding dust takes over your home. Each layer must be sanded, so it isn’t a one and done thing. It’s sanding every layer over several days. It’s a messy process! I’m still finding dust days later. This morning I noticed the egg carton was gritty when I got it out of the fridge. I opened the oven door and the inside of the door was dusty. In spite of wrapping the cabinets with plastic, the drawer runners were dusty because we had removed the top drawers.
Mixing the color is tricky. I didn’t get the colors I intended.
Mixing the cement is tricky. Consistency varies. How the cement trowels varies.
The sealer and epoxy are very stinky. The sealer is unhealthy to breathe. It made us sick- headaches and dizziness. Can’t open windows with the epoxy because it needs 75 degrees or more to flow and cure, so the house stank for a day. The epoxy application is very messy- it drips off the edges of the counters and I flung in all directions in my rush to get it on before it hardened in the bucket. It was nerve-wracking to apply and was definitely a three person job. So thankful for our oldest daughter’s help. Husband mixed and did the final blow torching. Daughter brushed on and also checked my brushing and alerted me to places that were thin. It kept all three of us very busy for an hour and a half. Epoxy doesn’t come out of clothing. Just sayin’.
Didn’t get a smooth do on the epoxy and we are stuck with permanent ripples in our countertop.
The risk of damage to floors, cabinets, and appliances is high. No matter how well you wrap and protect, there is going to be collateral damage. Our damage was small, but we were tense the whole time. The bits of cement during the troweling process were especially abrasive. We had to take off our shoes as soon as we exited the kitchen so we didn’t grind sharp cement chunks into the wood floors in the rest of the house. I got epoxy on a door. Husband accidentally sanded a drawer front slightly. (Hence the removal of all drawers in close proximity to the counters.)
Pros
The layers of cement do look cool. When you look at it, you’re not sure what it is. Has a look similar to stone.It is unique and pretty. Our budget allowed for Formica or DIY cement. I wanted something unique and artistic, so I took the risky option of DIY.

I think the product will be tough. I’ve been using a small sample I made in the class I took prior to doing our counters and it has held up well.
Conclusion
Unless you’re desperate, don’t attempt this for such an important part of your home as counters- especially if the kitchen is visible from the living space as in an open floor plan. We can’t escape our counters. It would be better done by professionals. It’d be great for smaller projects like coffee or end tables, or even a dining table which could all be done out of the house in the garage where the dust and smell and damage wouldn’t be an issue.
So glad to see your progress! You two continue to amaze! Glad also to note there are no injury or health issues reported!
Bravo your new house completed! You two amaze us!
It looks beautiful to me! And it’s sentimental that your kitchen is so much like your home you left here!
Yep. Guess I liked it so much, I just had to have another like it! It’s efficient use of a small space. This one has an eating bar which is so nice for family gatherings.